There's one really great thing about projects for little kids: they're widdle! They don't take a lot of time and I like that I get to use sugary sweet cutsie patterns and know that it won't get stuck in the bottom of a drawer somewhere. First off, I made two quilts inspired by the follow-the-lines baby quilt in Last Minute Patchwork Gifts.
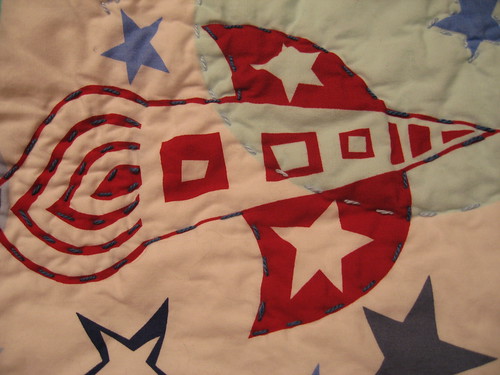
I'd been eyeing this spaceship fabric for a while. You don't see a lot of boyish fabric in stores. When I first spotted this print, it went out of stock before I could push myself to buy it, so when I saw it again online, I had to have it. It is so dang cute. I'd have a bad day at work and just knowing I'd come home to hand quilt some rocket ships made me smile. You cannot frown when looking at red and blue spaceships, it's not humanly possible.
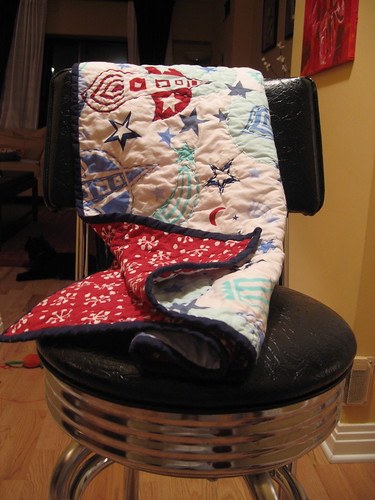
This quilt was for Ryan's 2nd birthday. I hand quilted it, and the stitches are huge and definitely random, but I kind of like the effect. It's almost as if a little kid did it, I think it adds a bit o charm.
I also hand did the binding, my first time doing it. That was definitely tricky, but totally worth it.

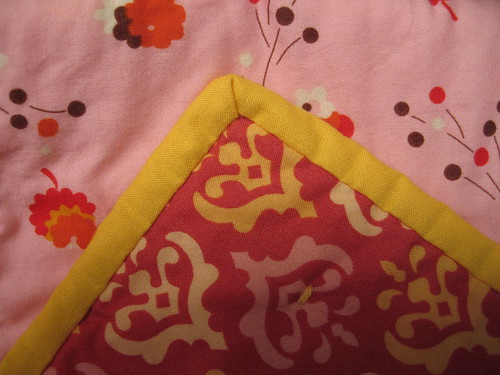
The next quilt I made was a polar opposite of Ryan's. This quilt is so sugary sweet I think I could die from cuteness overload. The pinks are so pink, the yellows are so bright!
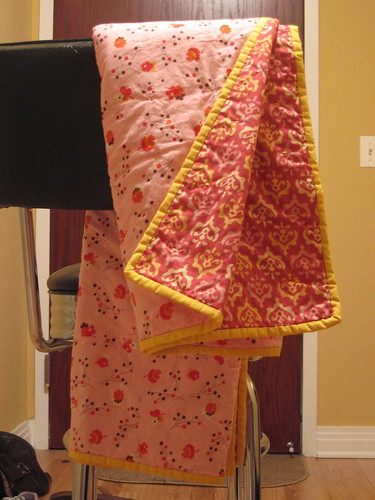
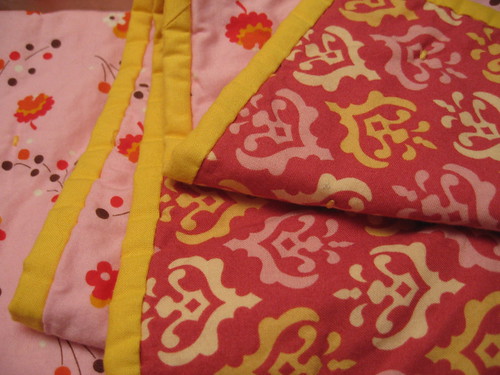
The other thing I really like about this quilt is that the fabrics technically do not match. The pinks are different shades, the flower pattern doesn't have yellow on it, but it looks like it should have yellow on it. I think the two different fabrics almost imply color similarities on themselves. For me, the yellow binding brought it all together. This quilt is for my friend Joyce's new baby girl, she is to arrive on May 7th. Instead of ties, I used a zig zag stitch to quilt the fabrics together.
When I gave Joyce the present she said, "I was hoping you were going to make me something!" I can't even tell you how that really warmed my heart. I think with handmade gifts there's always this fear that people won't really get it, or appreciate it. I think that's totally fine, I have just as much fun spending my time picking a thoughtful gift for a friend. It just feels defeating when you think that someone will like something and they don't, whether it's handmade or not. You know what I'm talking about, "Oooohh... umm yah thanks! Thanks so much! Oh yah I LOVE it." Luckily, I haven't run into this reaction yet. ::knock on wood:: And if you spend time making those little details and people don't notice, it's a little pang.
For the little details, I taught myself some tricks on the second quilt to make the hand-binding go a little easier. Maybe these will work for other people, maybe not, maybe this is totally obvious stuff that everybody already knows, well I didn't ok!?!
1. I have to pin binding to the quilt. I know I know, everybody hates pinning and all that business, but I tried without pinning and it turned into a huge gigantuar mess, so no more of that. And when I do pin, I pull the binding taut, otherwise pilling forms because the stitches are pulling things in tighter than the binding is laying. Does that make sense? Well, even if it doesn't, everything laid nicer when I gently tugged the binding taught as I pinned it down to machine sew it.
2. I use a teeny needle to hand-sew the other side. JoAnn's was having a 50% off sale on all quilting notions, so I bought shorter needs to do the binding with. I wound up using a medium size length (medium compared to what else was in the package, it was still relatively short) so that my chubby fingers had enough to grab onto but were still able to manage the needle easily.
3. I looked up exactly how to blind stitch. The Last Minute Patchwork Gifts book explains in words how to do a blind stitch. I need a visual. I am a visual learner. I don't even know how to properly use a thimble much less do a blind stitch. Here's how I stitched my binding, after hiding my little knot I put the needle in just below the machine stitching that attached the binding to the front of my quilt. We're talking a hair away from the stitching, then, I inserted the needle parallel to the stitching about 1/8" along the stitching and took the needle out. The next stitch went into the fold of my binding directly above where the needle had just come out from the back of the quilt. Again, the needle went parallel along the fold of the binding about 1/8" before coming out. So all it looks like is a vertical thread coming up from the back of the quilt and then into the binding. I continued along, tugging gently as I went to pull the binding to the back of the quilt. The result was flawless, in my opinion. That blind stitch is genius I tell you. If you still don't really get this, search for blind stitch on youtube. I think the other two things to remember are to go really close to the machine stitch and then into the fold of the binding. That way the edges of the binding on either side will match. Ta daaaa!!!
 4. This whole binding method also taught me that next time I'm going to put the binding edge slightly away from the edge of the quilt before I machine stitch it, that way the binding will totally encapsulate the quilt edge instead of having a sort of empty space that makes you think your binding was too wide for your quilt.
I am definitely going to do more of these. I'm thinking the next one will have some simple patchwork involved. I like simple details. There's definitely something of a triumph when you patiently work something to perfection.


No comments:
Post a Comment